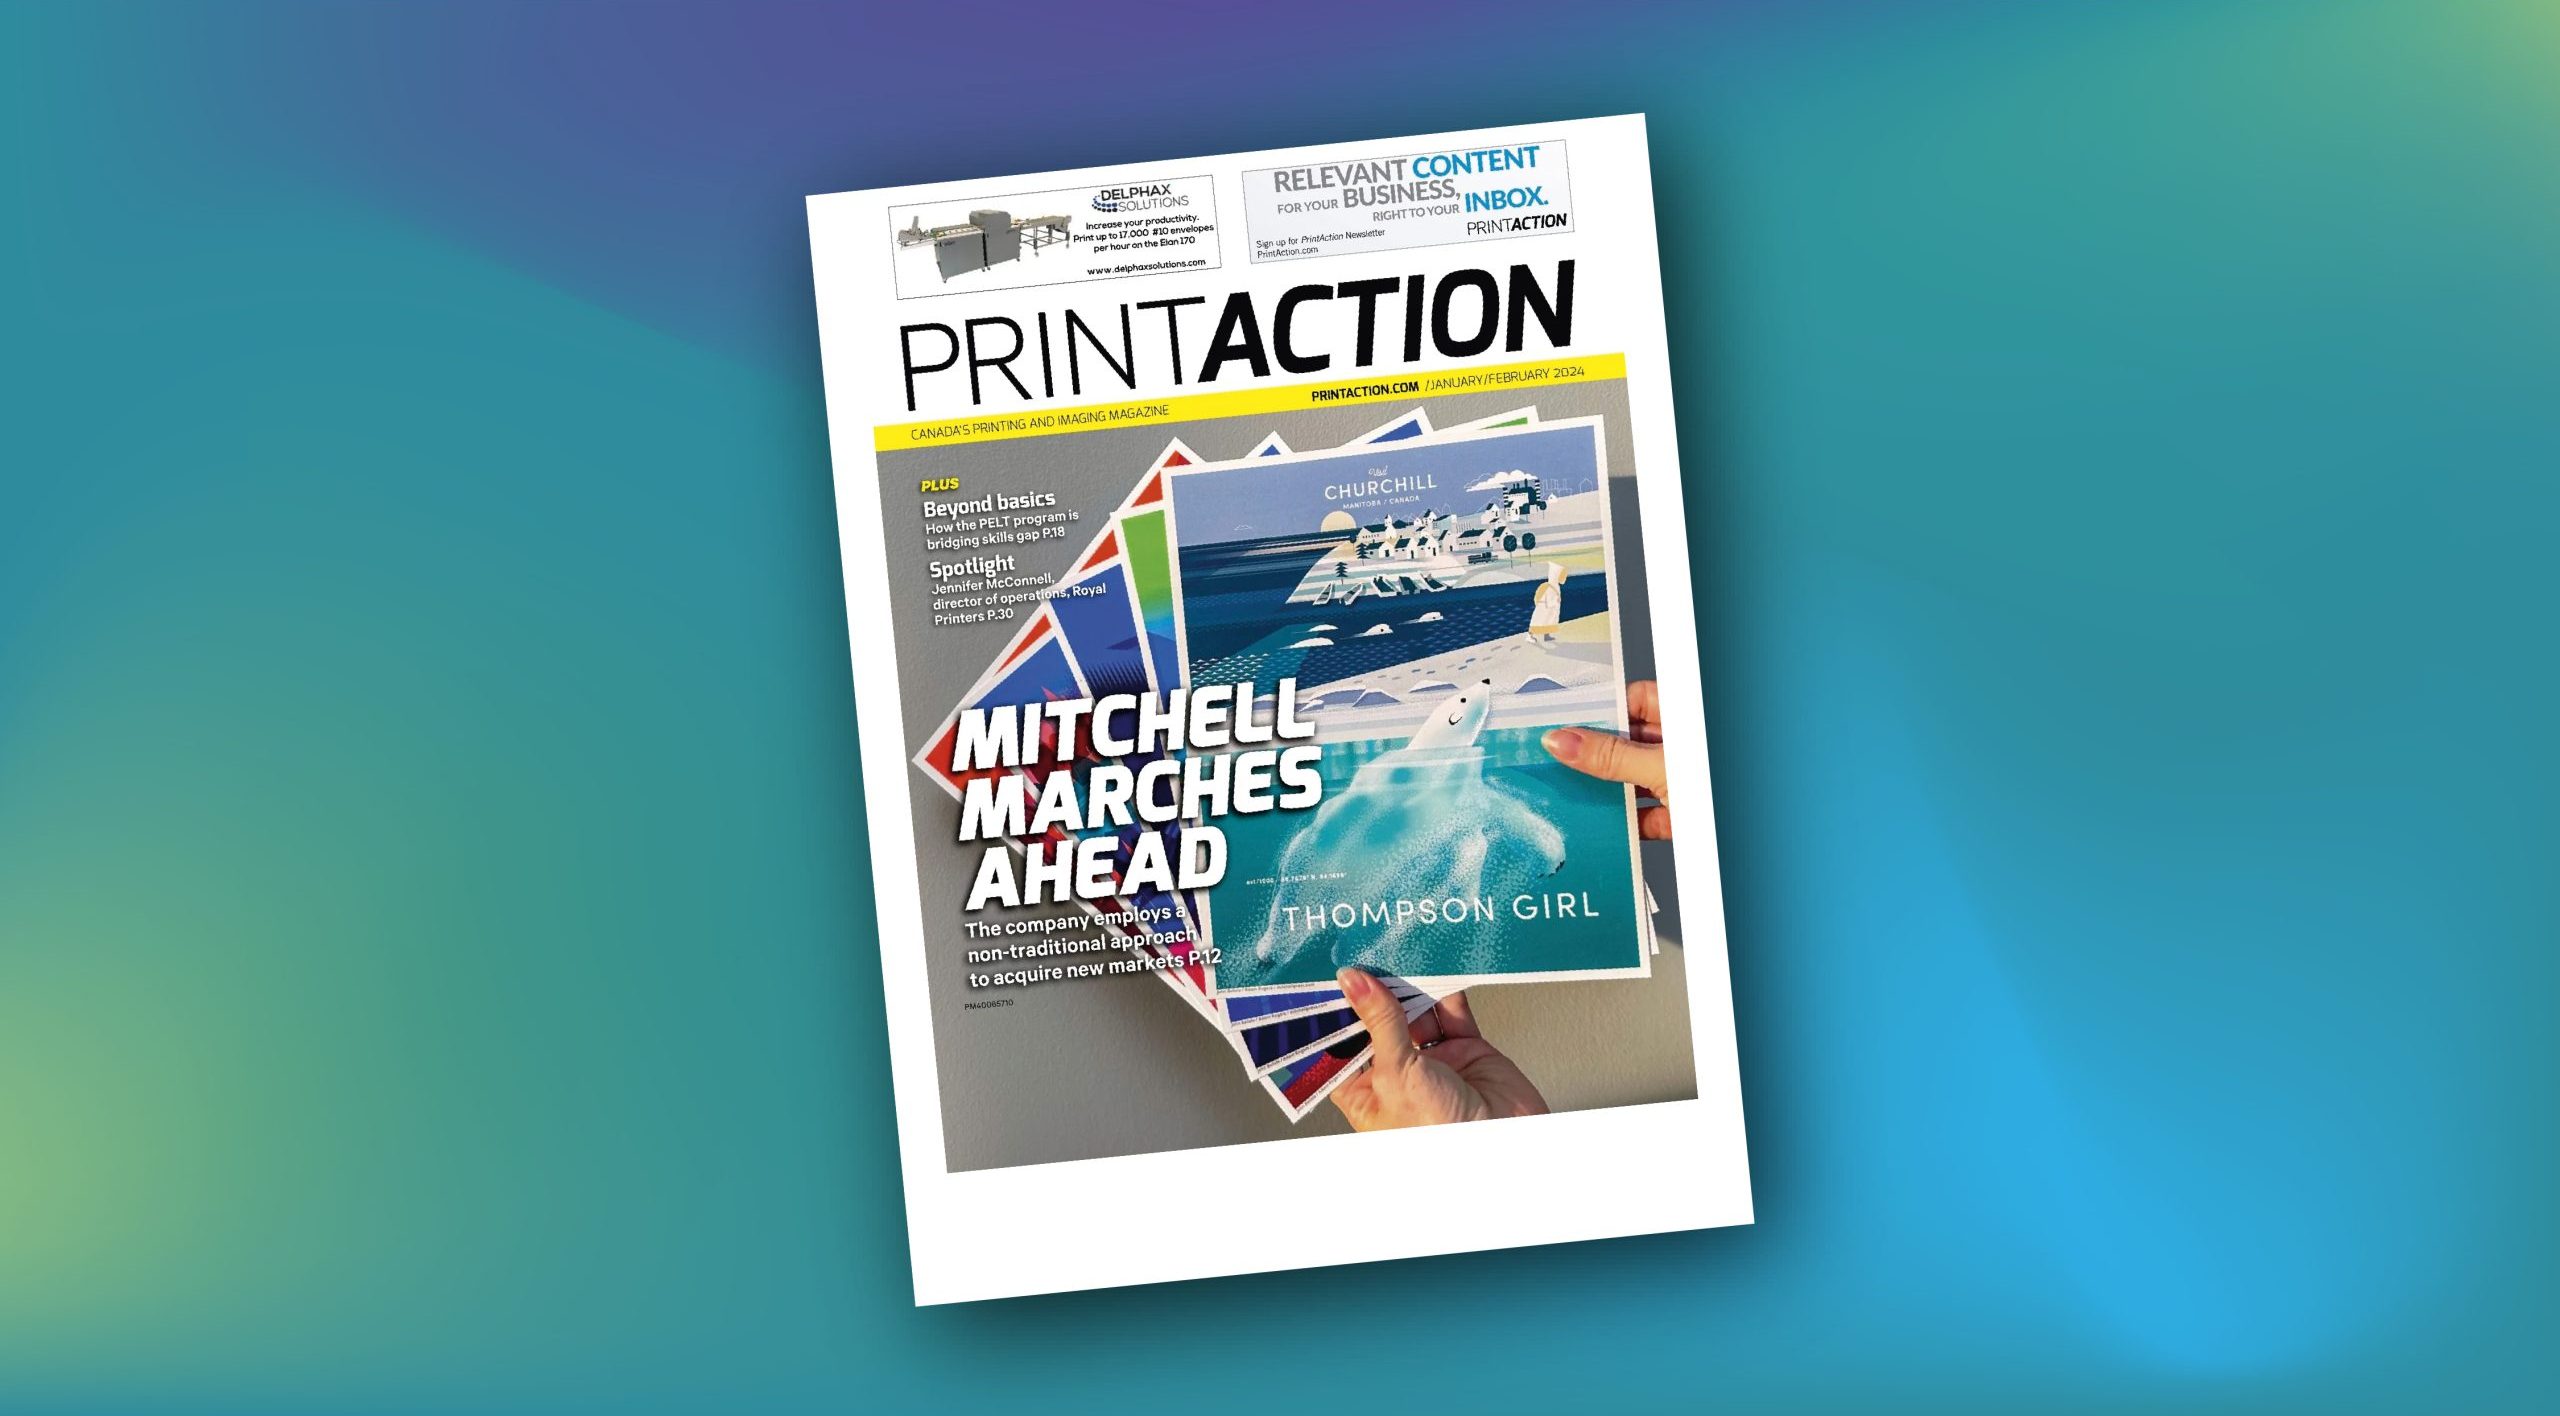
These downloads will help you prepare files for Mitchell Digital printing. Please note, that other departments or presses may have different requirements. You can speak with your Mitchell Project Coordinator to find out more information or get more detailed instructions.
TIPS FOR CREATING BETTER FILES
Use the “Tips for Creating Better Files” document to check out our recommendations for our digital press.
Use a high-end graphic application
Prepare layouts or artwork in a program commercially used in the graphic industry such as Adobe InDesign or Adobe Illustrator.Create the document using the actual page size
Please build your document to the size quoted on the job.Type safety
Type should be held back 0.125” from the trims. This will assure nothing is trimmed off during the binding process.Use high-res images
Use high-resolution images with 300 PPI (pixels per inch) to ensure crisp, high quality printed results.Blacks
We recommend that all black type under 72pt is set to 100% black only and that any large areas of black, such as backgrounds or large graphics, be a rich black formula. We recommend CMYK 60, 40, 40, 100 which gives a nice dense, neutral black when printed.Knockout VS Overprint
White text must be set to KNOCKOUT of the background not to overprint. Colours in graphic files that sit on top of one another must be set so that the top colour does not overprint but KNOCKS OUT of the colour below it so as not to change colour. Black text should always OVERPRINT.Fonts
When exporting the job, please make sure all fonts are embedded and include the full family (do not subset).Images butting to the spine
When graphics and image are going up against the spine, please make sure the image is not crossing over the facing page, but actually meets the spine. This can be done by numeric placement.Bleeds
On all pages where an image and/or colour extends to the edge of the page, we require the artwork to bleed at least 0.125″ beyond the trim size.Marks
When exporting your document to a PDF please do not sure the factory settings for the offset marks. We require all marks to be offset by at least 0.125″ so they are not within the bleed.
Download the PDF here:
TIPS FOR CREATING BETTER FILES HERE
PREPARING FILES FOR SPECIALTY INKS
Use the “Preparing Files for Specialty Inks Guide” document to help you prepare files for our Kodak Nexfinity Press’s specialty inks – Gold, Metallic, Raised Dimensional Clear, Spot Clear and White*
Download the PDF here:
PREPARING FILES FOR SPECIALTY INKS GUIDE HERE
MITCHELL DIGITAL PDF PRESETS
You can also choose to use our Mitchell Digital PDF Presets to help export your files with the correct settings. Follow the instructions in this link: CLICK HERE
Please contact your Mitchell Project Coordinator for questions or more information.


